
Starting with a Product or a Custom Brief: Which Workflow Should You Choose?
Compare Labelix's product-based custom-print flow with Free Customization and choose the starting point that matches what you already know.

The fastest way to make a custom garment is not always to start from a blank page. Sometimes the product is already decided and only the artwork needs work. In other projects, the silhouette, fabric, quality level, or sourcing requirements are the idea—and no catalog item fully represents it yet.
labelix supports both situations. Choosing the right entry point keeps the request focused and prevents avoidable rework later.
Start with a product when the foundation is known
The product-based workflow is a strong fit when you have already found a catalog item with the shape and variants you want. The product page gives you concrete information about the garment and available SKUs. From there, the custom-print workbench lets you select a product image, add artwork, choose crafts, build previews, and continue to a quote.
Choose this route when:
- The catalog product already matches the intended silhouette.
- You can select an appropriate SKU or product image.
- Your main creative task is decoration and placement.
- You want the request to inherit a known product context.
This path reduces ambiguity because the base product is not being reinvented inside the brief.
Start with a custom brief when the product is the challenge
Free Customization is designed for ideas that begin outside the catalog. You can upload surface reference images and describe the product category, desired quality, expected quantity, target price, and special requirements.
Choose this route when:
- You are working from a reference garment or concept image.
- The required silhouette or material is not represented by one catalog product.
- You need sourcing or production input before the product can be finalized.
- Multiple product surfaces or special requirements are central to the brief.
The custom brief still supports print artwork, craft effects, per-surface try-on previews, and an optional showcase video. Those enhancements are valuable, but the first job is to communicate what product you want made.
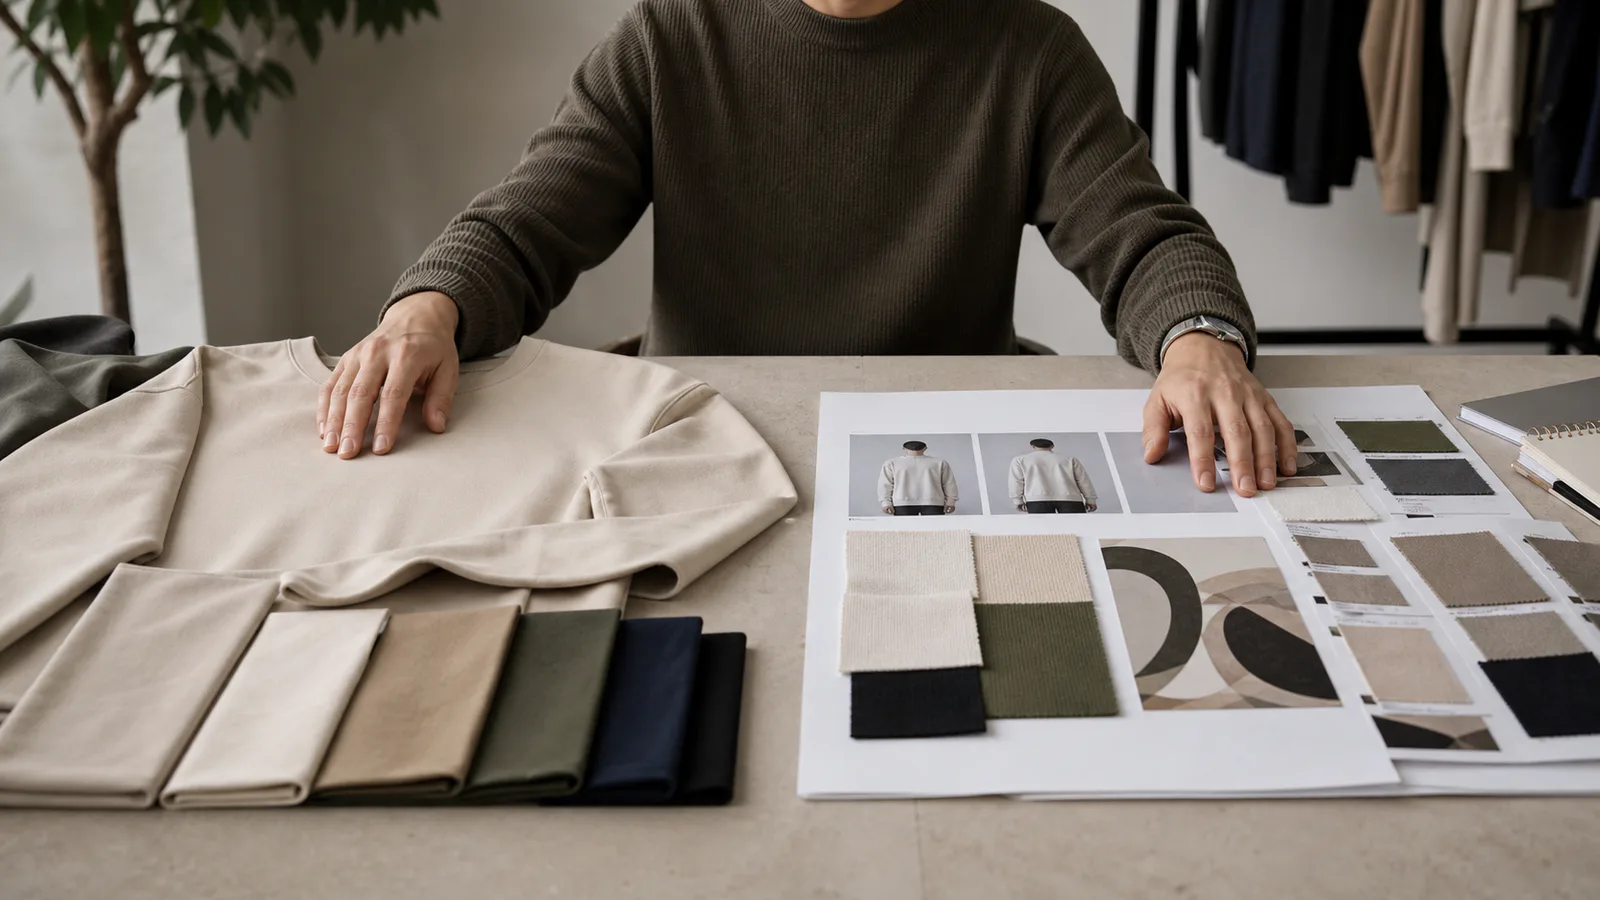
Compare the two paths
| Decision | Start with a product | Start with a custom brief |
|---|---|---|
| Base garment | Existing catalog product | Your reference images and requirements |
| Best when | Shape and product context are known | Product sourcing or development is still needed |
| Main input | Product/SKU image plus artwork | Category, quality, quantity, surfaces, and notes |
| Design tools | Print layers, crafts, previews | Print layers, crafts, previews |
| Result | Custom Request linked to a product | Custom Request built from a free-form brief |
Both paths lead to a Custom Request and quote review. Neither path immediately creates a paid Product Order.
Questions that make the decision easier
Ask yourself what would be hardest to explain to another person.
If the answer is “which garment I mean,” start with a product. A concrete product page communicates more accurately than a paragraph of description.
If the answer is “the garment does not exist in the catalog,” start with a custom brief. Use clear reference images and explain which characteristics matter rather than asking the team to reproduce every incidental detail in a photo.
If you know the garment but need several coordinated designs, the product route can still support multiple surfaces and print layers. If you have a simple logo but complex sourcing requirements, the custom brief is still the better route. Artwork complexity alone does not determine the workflow.
Do not create two requests for the same idea
Starting both paths “just in case” splits the context across separate records and makes review harder. Pick the path that best represents the base product, then include unresolved questions in the request notes.
Before submission, check that every surface image belongs to the same product concept, every print layer uses the intended source, and the expected quantity reflects the project you actually want quoted.
Browse products if the garment is already defined. Choose Free Customization if your references and requirements need to define it.
Frequently asked questions
- Should I start both a product request and a custom brief for the same idea?
- No. Running both paths splits the context across separate records and makes review harder. Pick the path that best represents the base product and put any unresolved questions in the request notes instead.
- Does the complexity of my artwork decide which workflow to use?
- No. The deciding factor is whether the base garment is already defined. A simple logo with complex sourcing requirements still belongs in a custom brief, and several coordinated designs on a known garment still belong in the product route.
- Do both routes support prints, crafts, and previews?
- Yes. Print layers, craft selection, craft effects, per-surface try-on, and showcase video are available in both. The difference is the base product: one inherits a catalog product and SKU, the other is defined by your reference images and stated requirements.