

How to Create Custom Apparel with Labelix
A practical walkthrough from the first product idea to artwork, craft previews, a submitted Custom Request, and an approved Product Order.
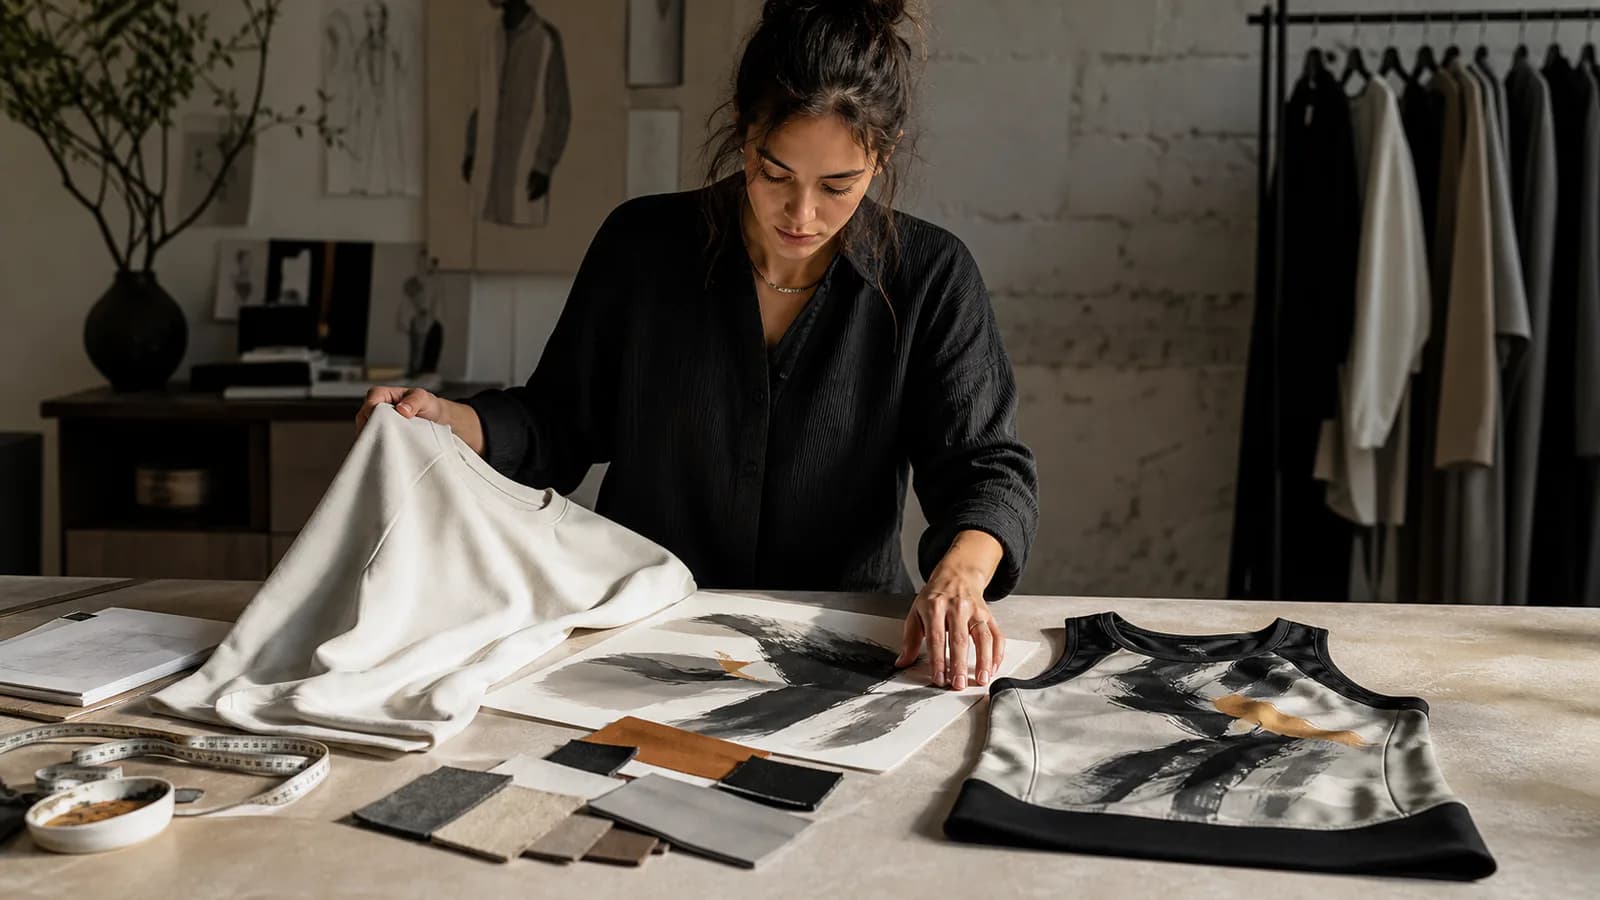
Custom apparel starts with a visual idea, but a production-ready request needs more than a mood board. You need to define the product, show where artwork belongs, choose an appropriate decoration method, and give the production team enough context to quote the work accurately.
labelix brings those decisions into one connected workflow. You can begin with an existing catalog product or build a request from your own product references. In both cases, the goal is the same: turn a loose idea into a clear Custom Request that can be reviewed, priced, and eventually converted into a Product Order.
Choose the right starting point
If you already see a suitable product in the catalog, open its product page and choose the custom-print path. This gives you a known product and SKU as the foundation for your design. It is the most direct route when the garment shape, fabric, color, and available variants already match your plan.
If your idea begins with a reference image, a particular silhouette, or requirements that are not represented by one catalog item, start with Free Customization. You can describe the product category, expected quality, quantity, target, and other sourcing or production requirements before adding visual surfaces.
Neither route is inherently better. The best route is the one that captures what is already decided without forcing you to invent details you do not yet know.
Build the garment surface by surface
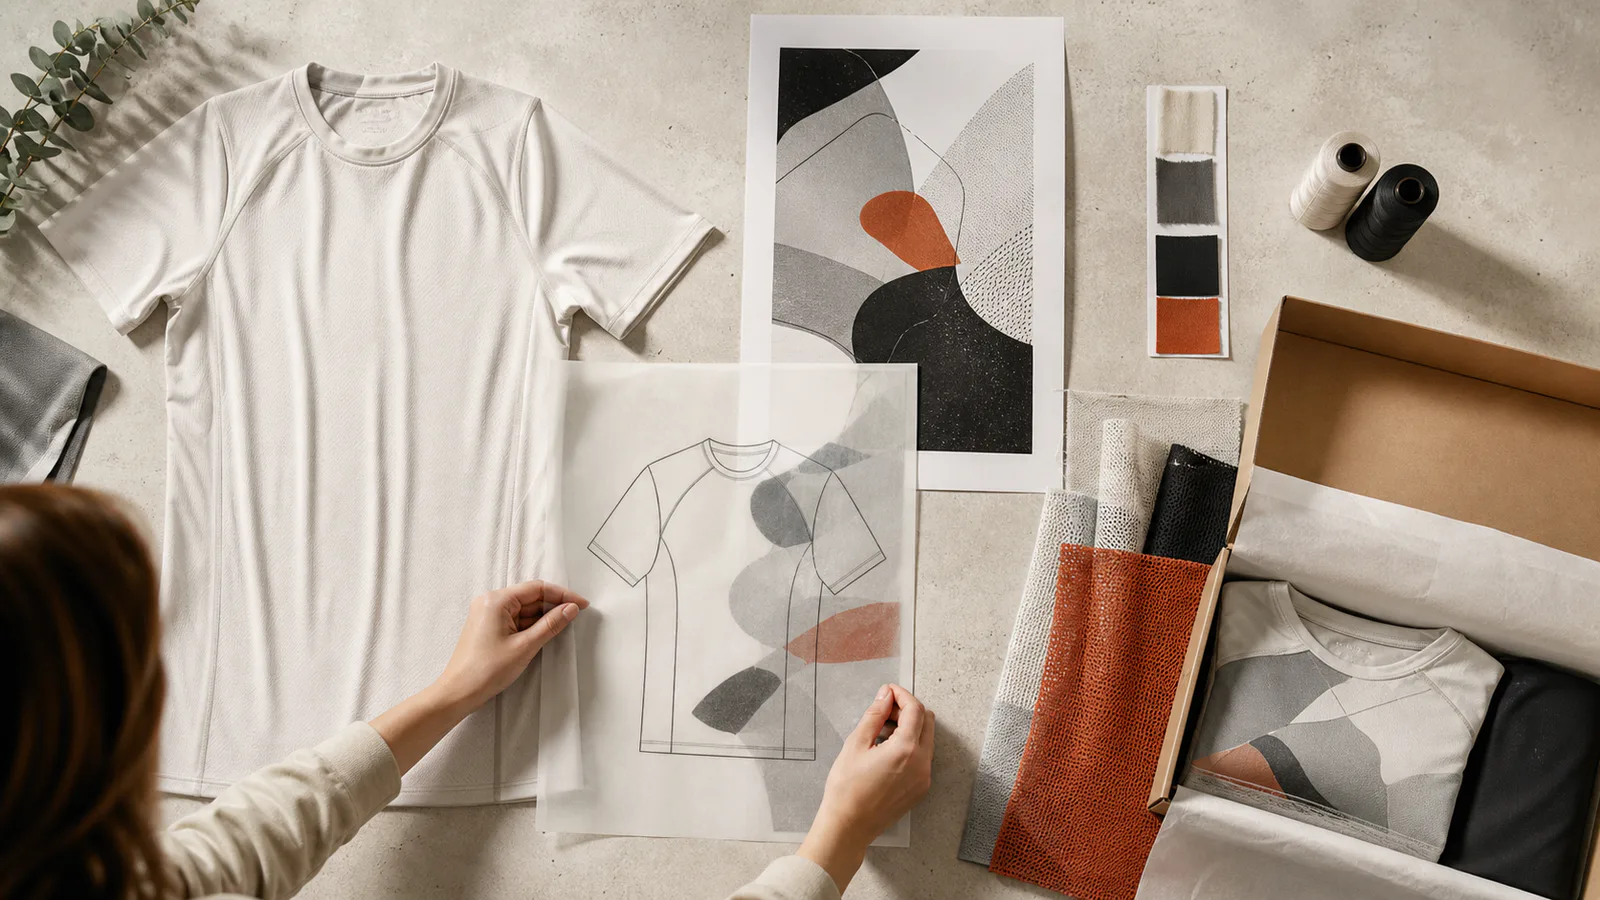
A garment is not one flat canvas. The front, back, sleeves, and detail panels may each carry different artwork or need different references. Add the surfaces that matter to the final result, name them clearly, and use an image that shows each area without folds or obstructions.
Within a surface, you can add more than one print layer. Treat every layer as an independent production decision: choose its source artwork, scale it, place it, and assign the craft that should create the final texture or finish.
Add artwork and choose a craft
Upload fresh artwork or reuse a saved design from your Print Library. Reusable print assets make it easier to apply the same brand element across products without repeatedly hunting for the original file.
Next, choose a decoration technique that fits the artwork and garment. Fine gradients, bold spot colors, raised texture, metallic finishes, and stitched marks all behave differently. The visual effect is important, but so are fabric compatibility, print area, quantity, and production constraints. Browse the craft library before committing to a method based only on its name.
Where available, generate a craft-effect preview to explore how the artwork may read as embroidery, print, or another finish. Use that preview to make creative decisions, not as a physical production guarantee.
Review the design in context
A good placement can look convincing on a flat garment and still feel different when worn. Optional virtual try-on previews help you evaluate scale, balance, and the relationship between the garment and a person. A showcase video can add motion context using references from the request.
These tools are especially useful for catching obvious visual problems before submission: a chest mark that is too large, artwork that crosses an awkward seam, or front and back graphics that compete with each other.
Submit a Custom Request, not an order
Before submitting, review the expected quantity, product details, surfaces, artwork, selected crafts, previews, and notes. Be specific about requirements such as packaging, material feel, sizing, or delivery priorities when they affect the intended result.
Submitting creates a Custom Request. It is not yet a Product Order. The request may follow an automatic pricing path or require manual review, depending on its inputs and the available pricing configuration. When a valid quote is published, you can review the design and cost details before accepting it.
Only after quote acceptance does the flow create a Product Order for payment and fulfillment. Keeping these stages separate gives you a clear point to verify the scope before production commitments begin.
Ready to turn an idea into a structured brief? Start Free Customization, or browse products when you want to begin with an existing garment.
Frequently asked questions
- Is submitting a Custom Request the same as placing an order?
- No. Submitting creates a Custom Request, which is a design and pricing record. It may be priced automatically or routed to manual review. Only after you accept a published quote does the flow create a Product Order for payment and fulfillment. Keeping the two stages separate gives you a defined point to verify scope before any production commitment.
- Can one garment surface carry more than one print?
- Yes. A surface can hold multiple print layers, and each layer is an independent production decision with its own source artwork, scale, placement, and assigned craft. That is what lets a single front surface combine, for example, a stitched emblem with a printed graphic.
- What makes a good garment surface image?
- One clear image per surface showing the area without folds or obstructions, named by the garment view rather than by the artwork you intend to place on it. Each surface needs its own image because placement is measured inside that surface's own coordinate space.