

Designing Custom Apparel Across Multiple Garment Surfaces
Plan front, back, sleeve, and detail placements as one system while keeping each surface and print production-ready.
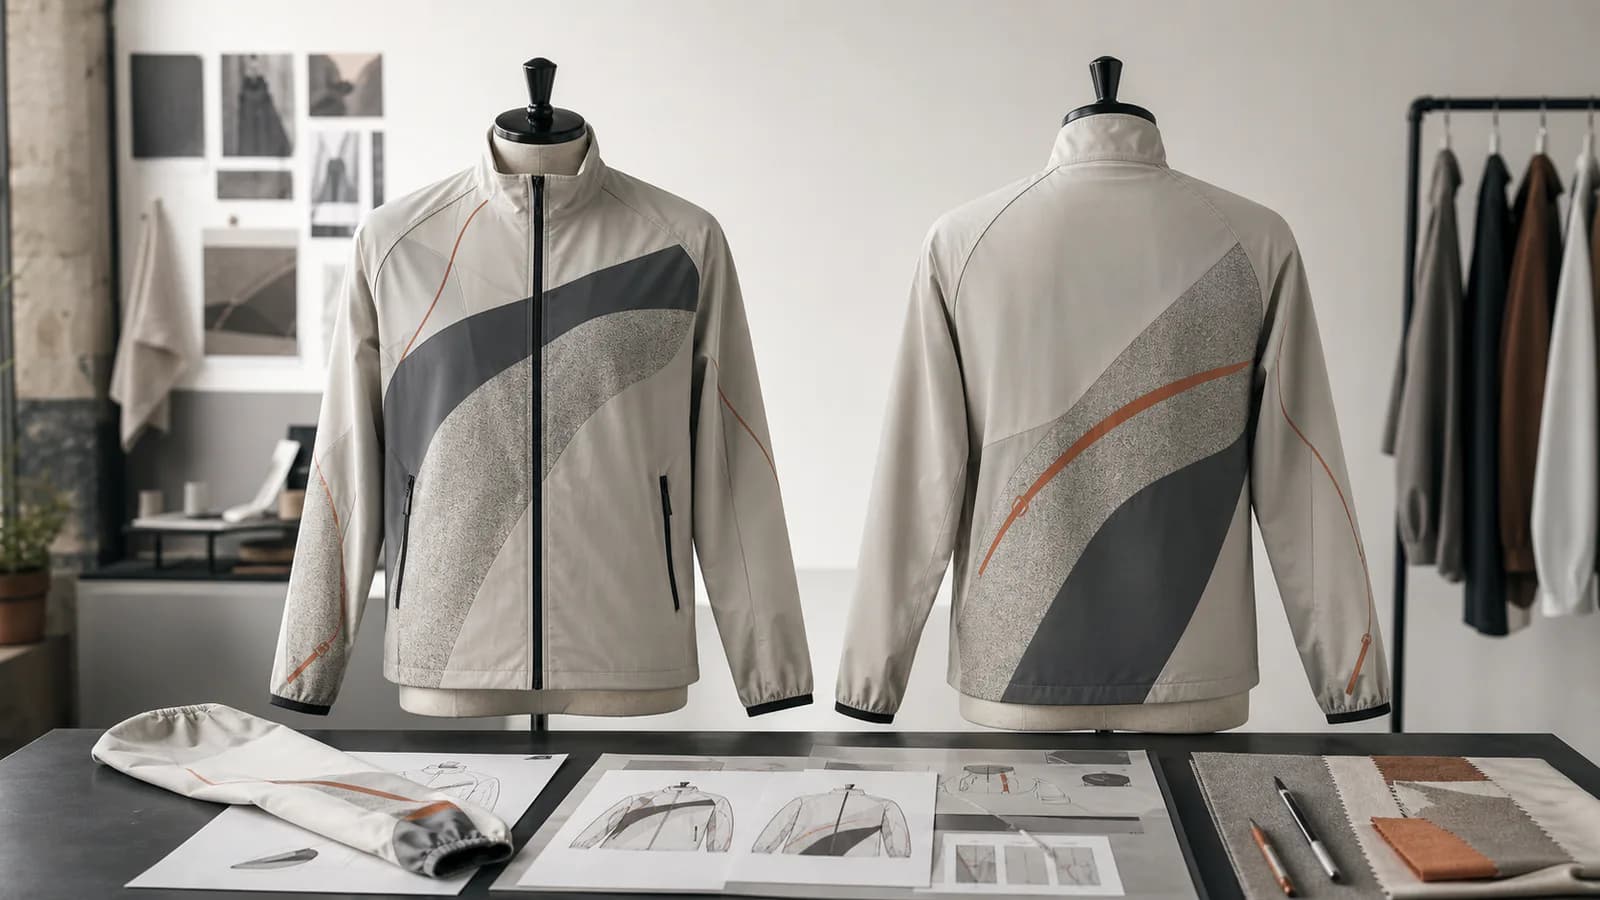
A garment is experienced in motion and from more than one angle. Designing only the front can leave the back feeling accidental, while treating every surface as a separate poster can make the finished piece visually noisy.
The Labelix customization workflows let a request contain multiple garment surfaces. Each surface owns its own image, print layers, placement composition, and optional try-on output. That structure is most useful when the design is planned as one system.
Define only the surfaces that matter
Begin with the views needed to communicate the actual product. Front and back are common, but a sleeve, hood, side panel, or detail view may be important when it carries artwork or affects construction.
Use one clear image per surface. Avoid mixing the front and back in a single surface image, because each surface needs an independent coordinate space for placement. Name surfaces according to the garment view rather than the artwork placed on them.
Do not add empty surfaces simply to make the request look complete. Every additional surface creates another item for the reviewer to interpret.
Establish a visual hierarchy
Choose which surface carries the primary message. A large back graphic, a centered front artwork, or a strong sleeve treatment may be the focal point. Other placements should support it.
A simple hierarchy might use:
- One primary graphic with the largest visual weight.
- One secondary mark that reinforces the brand language.
- One small detail placement for discovery at close range.
Repeating the same large artwork on every surface rarely creates cohesion. Repeating a shape, color, line weight, or material treatment can connect the garment more subtly.
Respect seams and garment construction
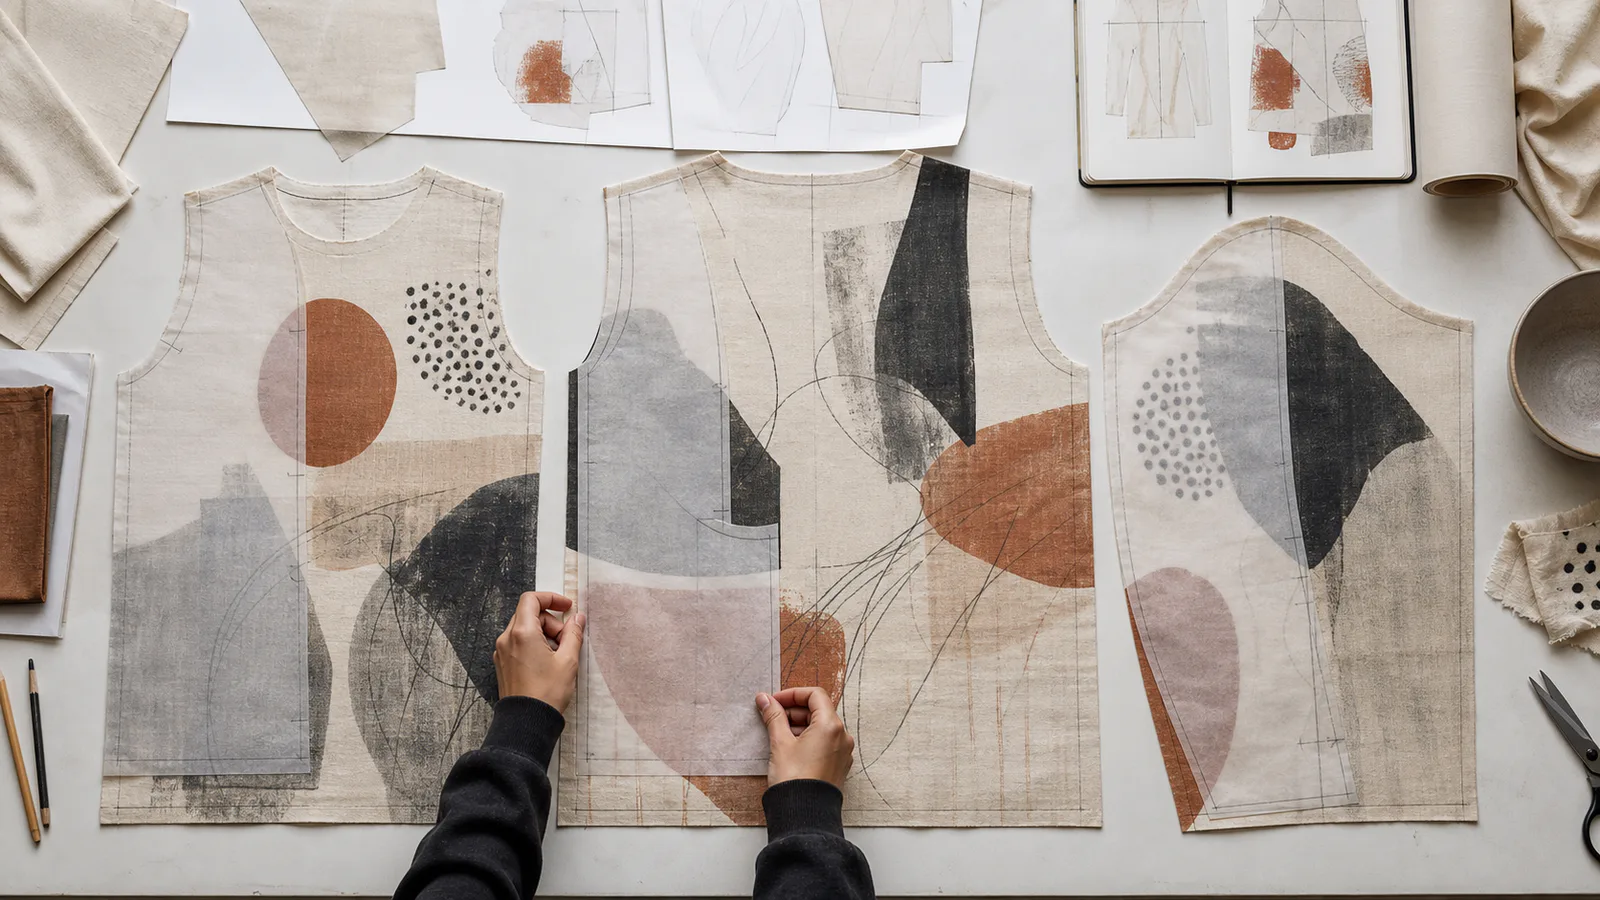
A flat surface image does not remove the physical structure of the garment. Artwork placed across a zipper, pocket, ribbed panel, or curved seam may be interrupted or require a different production approach.
Keep essential details away from uncertain boundaries. If artwork must cross a construction feature, explain that intention in the request rather than relying on the preview alone.
Scale should also be judged relative to the garment, not just the editor. A mark that fills the available image may feel much larger when the product is worn.
Treat every print as its own decision
One surface can contain multiple print layers. Each layer should have a clear purpose and retain its own source artwork, selected craft, scale, and position.
This matters when combining methods. A small embroidered emblem and a larger printed composition may share the front surface, but they should not be flattened into one ambiguous image if they need different production techniques.
Use the composed placement image to evaluate the layers together. Check overlaps, spacing, and whether one texture visually dominates another.
Review surface-to-surface relationships
Switch between surfaces during the design process instead of finishing one view completely before considering the others. Ask:
- Do front and back graphics feel like the same collection?
- Does a sleeve placement connect the two views or compete with them?
- Are repeated elements consistent in scale and craft?
- Is there enough quiet space for the garment itself to remain visible?
Per-surface try-on previews can help assess individual views. When supported, a solution-level showcase video can use references from multiple surfaces to communicate the broader request. The video is one overview of the request, not a replacement for checking every surface record.
Keep the submitted request internally consistent
Before submission, confirm that all surface images describe the same product concept and that no outdated artwork remains on a background surface. If a design change invalidates an earlier try-on or video reference, regenerate the dependent preview rather than presenting conflicting versions.
The quote and eventual Product Order preserve the accepted customization details. A clear surface structure therefore does more than improve presentation—it reduces ambiguity in the production snapshot.
Start a multi-surface concept with Free Customization, or choose custom print from a suitable catalog product.
Frequently asked questions
- Can I put the front and back in one surface image?
- No. Each surface needs an independent coordinate space for placement, so combining two views in one image breaks the positioning of every print on it. Use one clear image per garment view.
- Do I need to add every garment view to the request?
- No. Add only the surfaces that carry artwork or affect construction. Empty surfaces added to make a request look complete give the reviewer more to interpret without adding information.
- What should I do if I change a surface after generating a try-on or video?
- Regenerate the dependent preview. An existing try-on or showcase video that referenced the earlier surface no longer represents the request, and submitting conflicting versions makes the accepted scope ambiguous.